How to Refill Your Vape Kit WIthout Leaks
Whether you are making the move from cigarettes to vaping, or are already vaping but switching from disposable or pre-fills, filling a vape kit will be a new concept at first. Different kits have different ways of storing your e-liquid, so it’s best to know which you have, and how it works before disassembling. In this blog we will cover the different types of e-liquid vessels, and how to use them.

Refilling Vape Tanks vs Pods: What's the Difference?
Filling a vape tank and pod are mostly the same process, though a tank does have some extra steps. Namely, you may need to detach or unscrew some parts in a tank vape, where you otherwise wouldn’t need to in a pod vape.
Before filling, especially if you’ve noticed any leakages, ensure that your pod is intact and isn’t broken or damaged.
How to Refill a Vape Pod
Refilling a vape pod is for the most part quite simple. As all parts within a vape pod are attached, there's not much, if anything, to disassemble.
Most pods are the same in features, with the main difference simply being where a filling port is located. It's worth checking where this is before following these steps:
Step 1
Check the pod for any damage prior to filling. Any unchecked cracks or damage will cause leaks and ultimately require you to clean your device and refill another pod.
Step 2
Locate and check your pod’s filling port. These are often silicone bungs that can be gently pulled open. They’re most commonly found on the side of the pod (known as a side-fill,) or in some cases such as with Xros Pods, on the top. These can be located by removing the mouthpiece on the pod to expose a silicone valve rather than a bung.
Step 3
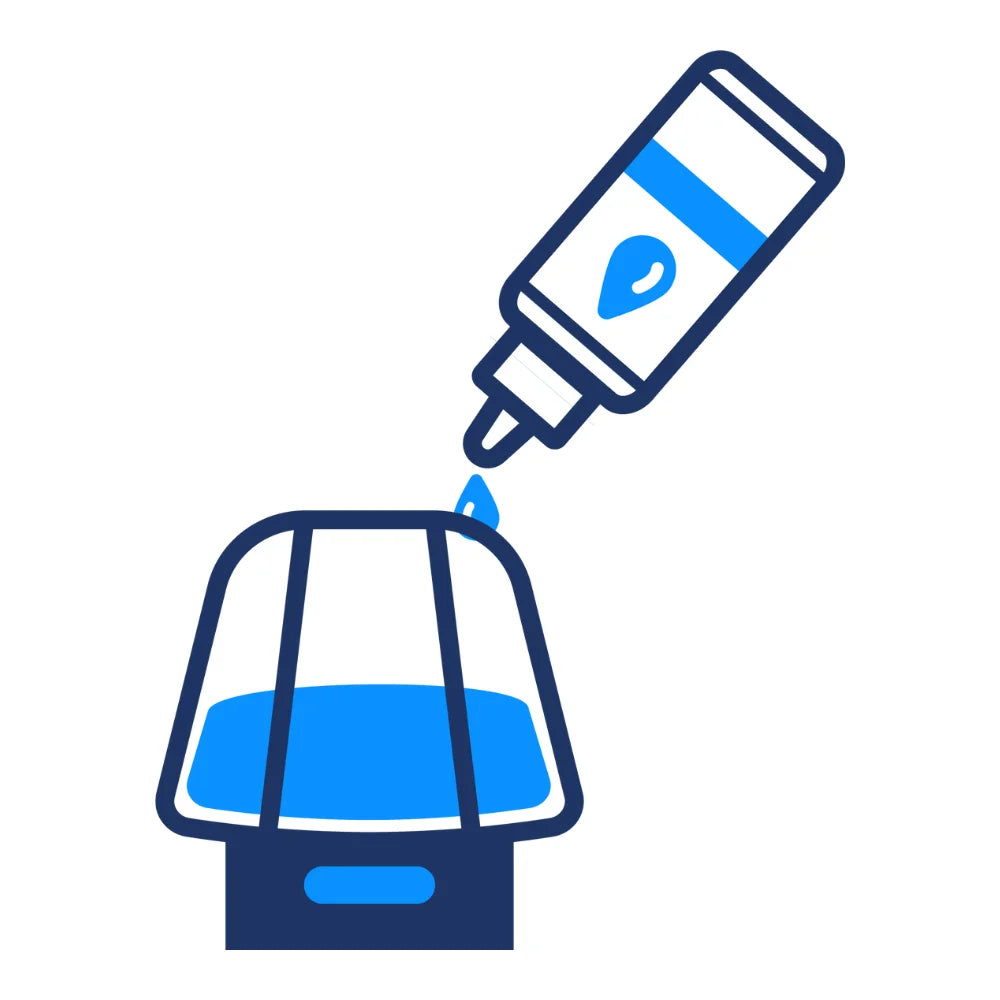
Insert your e-liquid bottle into the opening, or gently push it through the valve and squeeze carefully to fill the pod. Ensure to not overfill your pod, as this will cause performance issues. In extreme cases, this can cause problems such as coil flooding. Check that the pod is also angled, so the opening is at the highest point to avoid spillages.
Step 4
Once filled, allow the e-liquid to absorb into the coil for a few minutes. We recommend at least 5 minutes if the pod/coil is brand new. If your pod has removable coils, you can speed up this process by priming the coil. This is where you carefully drop e-liquid on the coil’s exposed wicking ports before inserting it into the pod, then filling as above.

How to Refill a Vape Tank
Pen vapes will contain a vape tank, which has more interchangeable components than a pod vape kit. Tanks are more open than pods, meaning it will be easier to clean out any leftover fluids, but may be more difficult to reassemble after.
If you're using a vape tank rather than a vape pod, be sure to follow these steps:
Step 1
Ensure all parts of the vape tank are properly screwed together with no cross-threading and check that there are no signs of damage or breaks to the tank parts – especially the glass. Vape tanks will often have silicone O-rings to create a seal, where individual parts connect.
Step 2
Locate the filling port on the tank. Some tanks will require you to unscrew the top section to expose the e-liquid chamber. Others will have different mechanisms such as sliding panels. Be sure to refer to your device instructions for clarity.
Step 3
Adjust your device so the opening of the filling port is at the highest point to avoid spills. Insert your e-liquid bottle nib into the tank and gently squeeze to fill the vessel, making sure to not overfill. Overfilling can cause coil flooding, or encourage leaks.
Step 4
Close the tank, allowing a few moments for the e-liquid to absorb into the coil before use. We recommend at least 5 minutes if the coil is brand new. If you are using a new coil, you can speed up the process by priming it – drop e-liquid on the coil’s exposed wicking ports, before inserting it into the pod and filling as above.

Top Tips For Avoiding Leaks When Filling Your Vape Kit
- Check for damage or breaks on your pod or tank
- Ensure you're using the right e-liquid for your coil - we have a guide for matching e-liquid to your device
- Keep e-liquid away from direct sunlight and avoid filling with warm e-liquid as it can leak easily
- Ensure the bottle nib will fit before filling - shortfills can be larger and don't always fit easily for clean refilling